Digital Preparation of Positives for Screen Printing
Using Photoshop & Illustrator
Scanner Software - Image Capture
Default scan at 300ppi
Choose an image
Step 1
Image Adjustments Click "Desaturate" - to remove all colour from the image
Step 2
Change the contrast to a high contrast image using the half circle in layer options
Step 3
Adjust the Levels - use the black and white slider ( both sliders on top of another creates the greatest contrast)
Step 4
Click the half circle layer option and select "Threshold" - this removes all greys from the image making the image consist of only black and white pixels.
Step 5
Use the polygon lasso tool, press "g" change the tool from gradient to paint bucket and fill the shape in black
Step 6
Check the colourise the layer, hold alt and click the line joining two layers - this enables you to only change the hue and saturation of that particular layer.
Step 7
Turn off "Hue and Saturation" before you print the digital positive
Step 8
Alter layer blending mode from "Normal" to "Multiply"
Step 9
Consider "overprinting or knocking out" Knocking out involves removing an ink from underneath to do this use very simple selection tools
Step 10
Use the magic wand tool and delete a section
Step 11
Then select the background layer and set the layer mode to "Multiply"
Step 12
Consider "Registration" - this is a consideration for printing ink
Step 13
Choose third image and change the mode to "Multiply" - removing the white background
Step 14
Half tone - allows us to print different tones of one ink - using a half tone screen by using dots varying in size creating the illusion of tone
Step 15
Normally again adjust the levels then "Select All" then "Edit" "Copy Merged"
Step 15
Normally again adjust the levels then "Select All" then "Edit" "Copy Merged"
Step 16
You must use illustrator to print, Open Adobe Illustrator select "File and New"
Step 17
Make sure the black and white printer is selected
Step 18
Look at the "Output" option on the printer menu change mode from "Composite" to "Separations (Host-Based)"
Step 19
Alter the "Frequency" - half tone dots in every inch "50" is the maximum always keep the same frequency, "10" will show dots for aesthetic use
Step 20
The "Angle" should be set to 15 each screen should have a different angle
Step 21
You can alter the dot shape to dot or line to create a different aesthetic


Ai Wei Wei Digital Positives
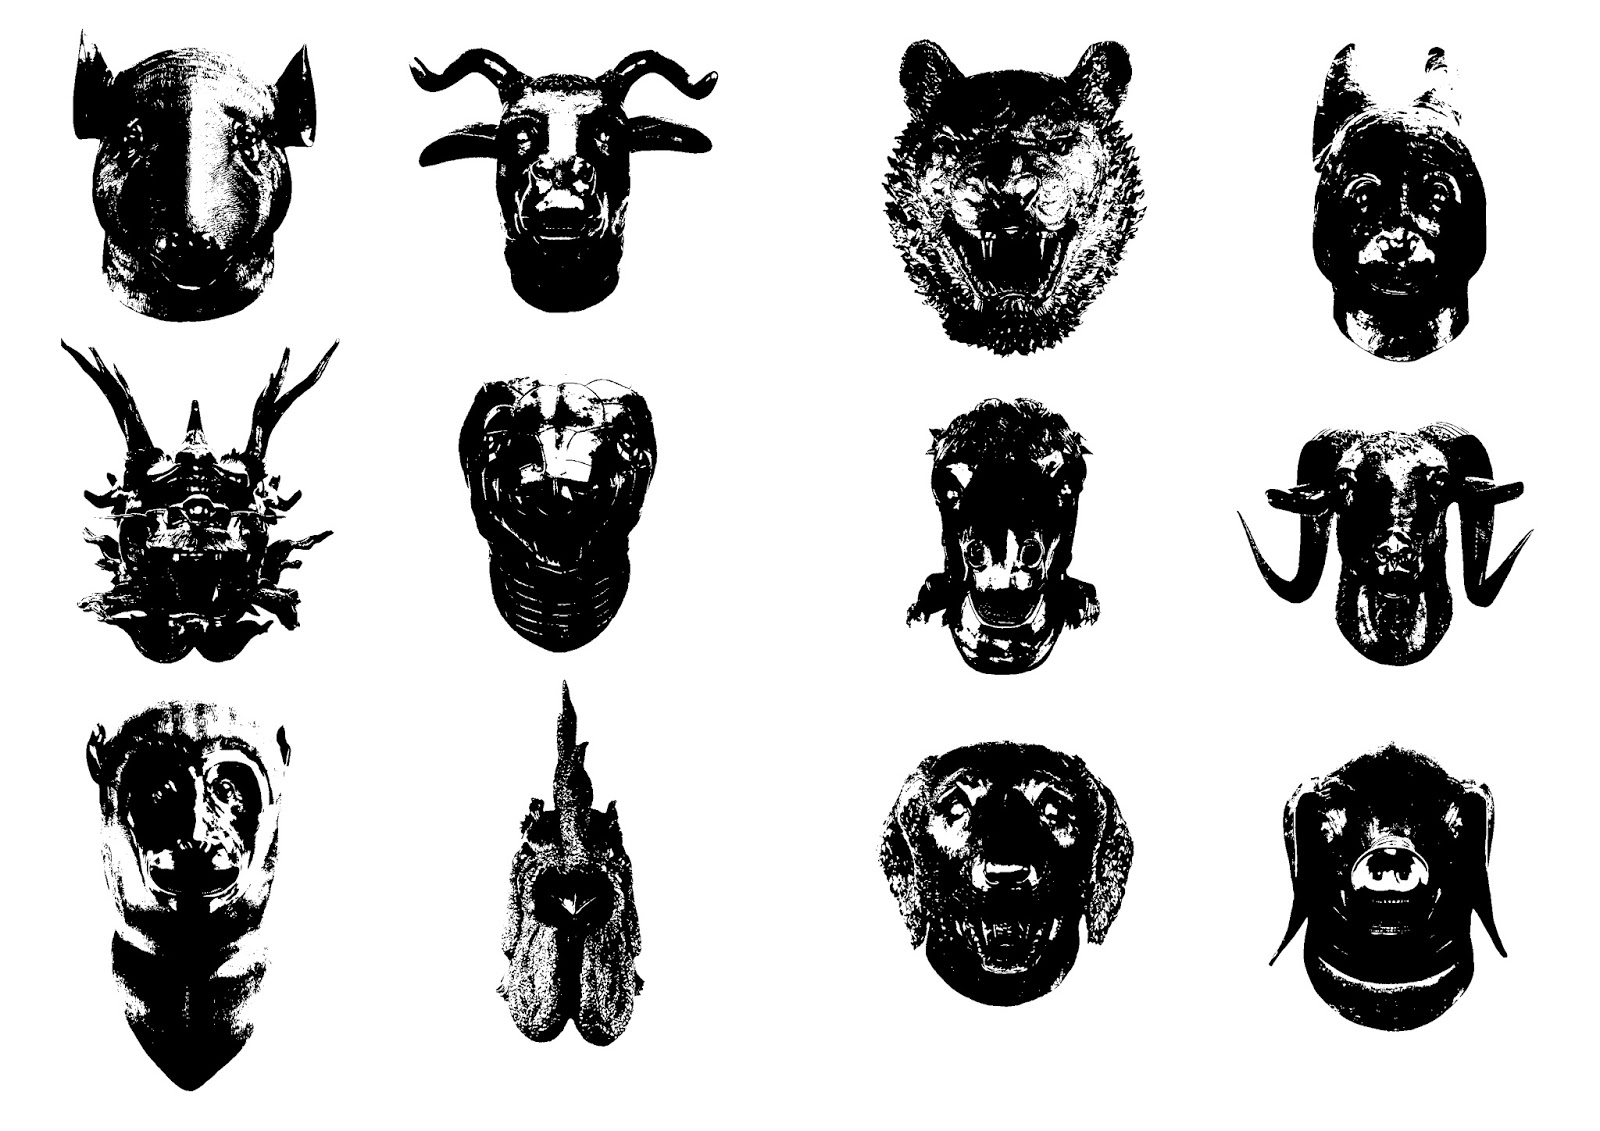
Image for Screenprint

Logotype for Screenprint
No comments:
Post a Comment